
In Sandra and Harry Reese's version (hence the renaming after Sandra), low-relief objects such as coins, leaves, torn or cut paper, or string are attached to a wooden block with acrylic gel medium. A piece of muslin is stretched tightly over this assemblage and adhered with more gel medium. All is let dry, then inked up and printed, either by hand or on a press. Depending upon the block, paper may be needed to shim the block to type high so it can be printed on the letterpress.
In fact, the muslin can be omitted and only gel medium is necessary. I have several old and used linoleum blocks and by turning one over, I can adhere low-relief objects with a result that is pretty much type high so I can print it on my letterpress. You can, of course, ink it up with a brayer and print by hand as well. (Without a letterpress, collagraphs may be made by affixing objects with the gel medium to a piece of cardboard and printed by hand.)
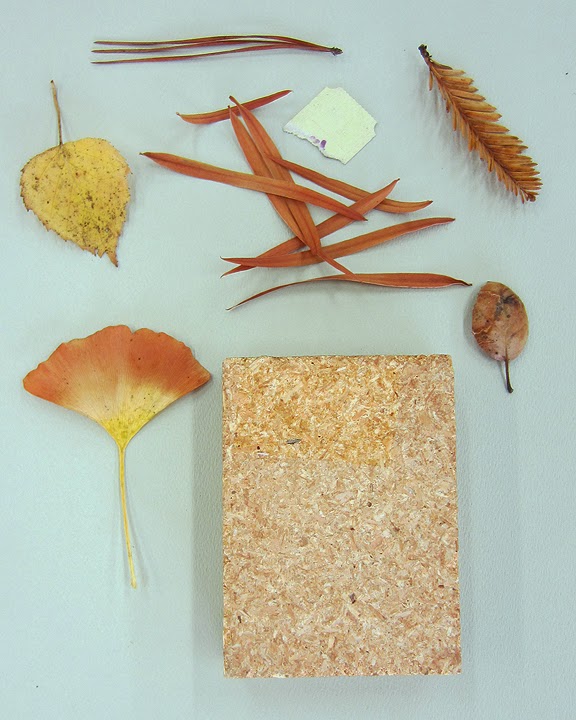
Choose some low-relief objects (no thicker than a penny for letterpress printing) and find an old linoleum block or buy a new one and use the back.
Coat the back of the block with gel medium. (I use heavy gel.)

Adhere low-relief objects.

Coat with gel medium.

Let dry.

Add another coat of gel medium. Let dry.
If objects seem to be poking out or not completely covered, add a third coat. Let dry.
Use a dab of relief ink (oil based or water based, such as from Daniel Smith, Inc.) and with a brayer, take a tiny bit and roll it out into a square, horizontally and vertically, until the ink patch is light and even. This photo uses oil-based relief printing ink and two colors in what is known as a rainbow roll or split-fountain (nicknamed split-fount).

Ink up the block (also known as the plate) by rolling over it one time horizontally and one time vertically. (Proceed in only one direction for a rainbow roll.) If it doesn't seem inked enough, pick up more ink from the inking stone and repeat the process.

If you want to place the print in a certain area on the paper, use one of your papers underneath the block as a registration guide. Here, the block on top of the guide paper is held in place on the metal press bed with strong magnets.

If you are printing by hand, place a piece of mulberry paper or other soft printmaking paper such as Rives Lightweight on the block. If you have a press of some kind, you can use most kinds of unsized or lightly sized paper (not watercolor paper); the pressure will nearly always yield a good print.
Use a clean brayer to roll over the back of the paper and/or rub with a baren or wooden spoon or other large, flat burnisher. At California College of the Arts, we have a sign press (shown in these photos) that provides the smooth pressure and functions like a big clean brayer.
A collagraphic print!

If you have access to a letterpress, place the block on the bed, lock up and ink as usual to print. Lighter inking and heavy impression works best.
Some details from a scroll I letterpress printed on mulberry paper in 1996. That "yellow" was originally a metallic gold, oil-based, Van Son ink; at the time, it did not look like this at all! But note the clarity of the printed objects. Like in the print above, you can see some brush strokes from the gel medium as well.

Comments