In the Western marbling workshop I took I met a woman who has been doing suminagashi, Japanese marbling, which reminded me of the ink kit I've had for about ten years. It was time to pull it out again. The current version of the Boku Undu marbling kit is made by Aitoh and called Innovation Marbling Paper Origami Marbling Kit. Mine came with these little floating disks onto which you dropped the ink, one drop at a time. I had run out of the disks, but learned that you can use a few drops of dish soap in a cup of water as the surfactant, the liquid that pushes the lines apart, creating the white areas in the pattern.
So here we are. We have the inks, some pointed brushes (a number 12 round is good, as are Chinese calligraphy brushes, which you can get cheaply at Daiso), a tray, tub, or in this case a plastic food container to be the vat of water on which to float the inks, a lid for a palette. To this we add dishwashing soap in a cup of water, a toothpick or pin, a stack of paper that will fit in the vat, some paper towels or old towels on which to dry the prints. Needless to say, you'll need access to water. Let's see what happens.


So far it looks like one needs: clean water, large and pointed brushes, enough surfactant, and to rinse the print afterwards.
The pattern flows and changes based on the movement of the water, your breath, and bumping the vat, or you can blow through a straw, draw a toothpick through it, or change up the colors. More experiments are in order, I see. I've ordered more ink and some sumifactant through Colophon Book Arts Supply. The papers can be used for endpapers, wrapping paper, covering paper, origami, collage, and other paper crafts.
If you want to watch a cool suminagashi demo video, check this one out: https://www.youtube.com/watch?v=12dSRw5Wzq4
So here we are. We have the inks, some pointed brushes (a number 12 round is good, as are Chinese calligraphy brushes, which you can get cheaply at Daiso), a tray, tub, or in this case a plastic food container to be the vat of water on which to float the inks, a lid for a palette. To this we add dishwashing soap in a cup of water, a toothpick or pin, a stack of paper that will fit in the vat, some paper towels or old towels on which to dry the prints. Needless to say, you'll need access to water. Let's see what happens.

I squeezed some blue ink on the palette and loaded up the number 12 round brush.

I dipped the smaller round brush in the soap/water solution.
I began with 2 drops of soap (which turns out wasn't really enough.)
We'll see how it goes.

I took the ink brush and touched the tip to the surface, trying not to go under the water.
Surface tension will hold the ink up.

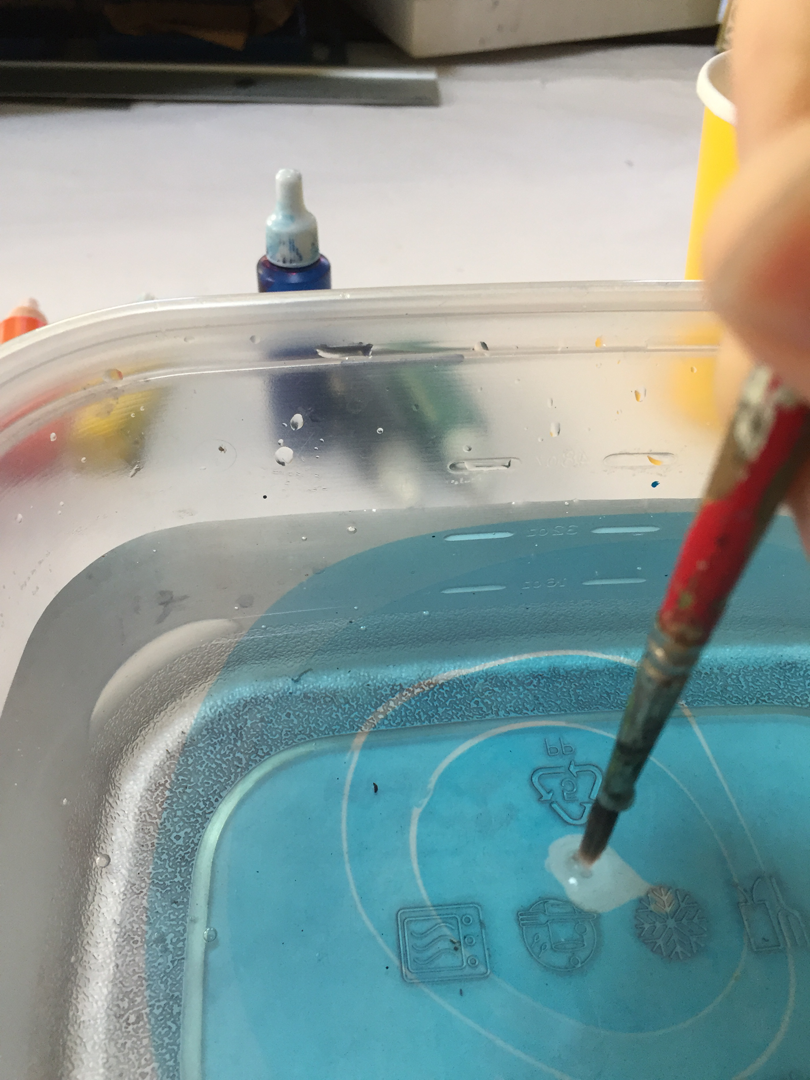
Next, the soap brush, a dot in the center of the ink.

Now the pattern starts to be concentric circles more clearly.
I kept alternating ink and soap.


Until it looked like this. I have used this tub before for washing little bits of fabric, so it is possible there is soap residue in it that is repelling the ink in the upper righthand corner.
I'll go see.

I dropped in a new ink circle.

I alternated soap and ink, then took a pin to draw through it, move it around a little to see if that would help.

Okay, well, time to print.

I lay the paper on the surface of the water.

And, well, this looks interesting, but murky.
Was it the paper?

Let's try another.
I'll use the larger brush for the surfactant (soap solution), see what that does.


Hard to see in the blue-tinged water, but I think it needs more soap.

The pattern looks crisper now.

Let's print.
This time, some mulberry paper. It isn't sized.

And another effect, a little blurry.
You can see where I loaded up the brush with more ink: it's darker in those circles.
So that's good to know if we want to vary the shades.

I'm still curious. I wonder if the tinted water was a problem.
Let's get fresh water and start another.

I want to make sure the circles start as perfectly round dots, so I am going back to the soapy water to find the point of the brush. I think it has lost it's point, though.

And here's a print from that experiment.
Much better.
Clean water, enough surfactant, and here I let the ink run out without reloading the brush.

My blue was running out on the palette.
What happens if we mix with another color right on the brush?
I added black.

I loaded up the brush.
And by that I mean I got it fully saturated.

I alternated again, as usual, and let the ink run out again, too.
Pulled the print.

Aha!
I'm liking this look with the two tones in one brush.
I rinsed it.

Pushing my luck, I'm trying one last time.
My water wasn't that dirty.
Will it matter?
I tried a few areas of circles.

I think soap got on my ink brush so this pattern repelled itself.

The pattern flows and changes based on the movement of the water, your breath, and bumping the vat, or you can blow through a straw, draw a toothpick through it, or change up the colors. More experiments are in order, I see. I've ordered more ink and some sumifactant through Colophon Book Arts Supply. The papers can be used for endpapers, wrapping paper, covering paper, origami, collage, and other paper crafts.
If you want to watch a cool suminagashi demo video, check this one out: https://www.youtube.com/watch?v=12dSRw5Wzq4
If you live in the SF Bay Area, you may want to take a class in suminagashi with Ruth Bosco at Handcraft Studio School. Sounds good! Maybe I will!
Comments
You got some great results for your initial foray............yummy
One question though apart from the Mulberry paper - what was the other paper you used. - I am thinking Hosho maybe ??
Thanks! I was using a bunch of scraps, and yes, mulberry was one. I'm not sure if I had any hosho, but I bet it would work well. I had some Velin Arches (Arches Text Wove), but I think it was too heavily sized. Better to use Japanese papers for this. I did more tests today with mulberry paper and was pretty happy with the results. More later…
-Alisa