Making boxes is satisfying. They are a fun way to experiment with color as well. Larger boxes can use a variety of strips and rectangles of book cloth or decorative paper. Small boxes can be covered on the outside with a single sheet; it is not quite as economical as using strips, but it can be very elegant, especially if you include the finer details and know where to make the cuts here and there for mitered corners at the top edges.

I include boxmaking in Making Handmade Books: 100+ Bindings, Structures & Forms. This is basically the Two-Piece Box or Candy Box (page 226, up to step 7). For the book board (80 pt) that is wrapped in book cloth, the top lid needs to be 1/4" larger than the bottom. Here, we are starting after the box is built. You could also wrap a commercially made box. The book cloth is [width + (4xdepth) + 1 inch] both ways, horizontal and vertical. This box is square.


I include boxmaking in Making Handmade Books: 100+ Bindings, Structures & Forms. This is basically the Two-Piece Box or Candy Box (page 226, up to step 7). For the book board (80 pt) that is wrapped in book cloth, the top lid needs to be 1/4" larger than the bottom. Here, we are starting after the box is built. You could also wrap a commercially made box. The book cloth is [width + (4xdepth) + 1 inch] both ways, horizontal and vertical. This box is square.
Begin by applying glue to the base of the box and centering it on the back of the book cloth. Book cloth on the left is backed with white paper. Book cloth on the right is backed with black paper.

With the ruler against the sides, draw lines exactly the size of the box.
Then draw sets of lines about 1/4" larger.

On two sides, across from each other, cut on the inner lines all the way to the box.
On the perpendicular two sides, cut on the outer line, stopping at the first cut line. There will be slits here.

Next, smooth one of the wider sides of the book cloth up against the box and make diagonal cuts, from up to down from the right and left edges to the corner of the box. Apply glue and smooth the book cloth into place. You can also wait to apply glue until all your cuts are made . (Yes, there are a few more.)

Press the wraparound pieces into place first, as well as wrapping over the edge of the box.

On these wider side flaps, the corners can look a little messy at first. The miter happens with the narrower flaps. But at the bottom of the box on the inside you will need to make some cuts to make the overlapping inner cloth lie flat. See how it bunches up in the following photo?

Before gluing, it is much easier to crease the book cloth into place, then remove it and see where there are folded triangles; cut out the little triangles.

Here's the opposite side, dry, with all its folds and cuts.

And, glued into place. All smooth in that inside corner. It rides up the perpendicular wall, reinforcing the box.

On those box-width size sides, the narrower ones, first smooth one flap up and mark a diagonal across the corners so you know where to cut for the miters.

Cut the diagonals, then cut straight out to the edge so that when the box is wrapped, the book cloth on the outside has a seam exactly at the corner, and the paper on the inside also has a seam exactly at the corner.

See how the miter is going to work?
There are the diagonals at the top corners.

Up and over. You can add a diagonal on the inside of the box before you glue here as well. (Not shown)


The inside of the box looks like this.
And here's a closeup of the mitered corner.

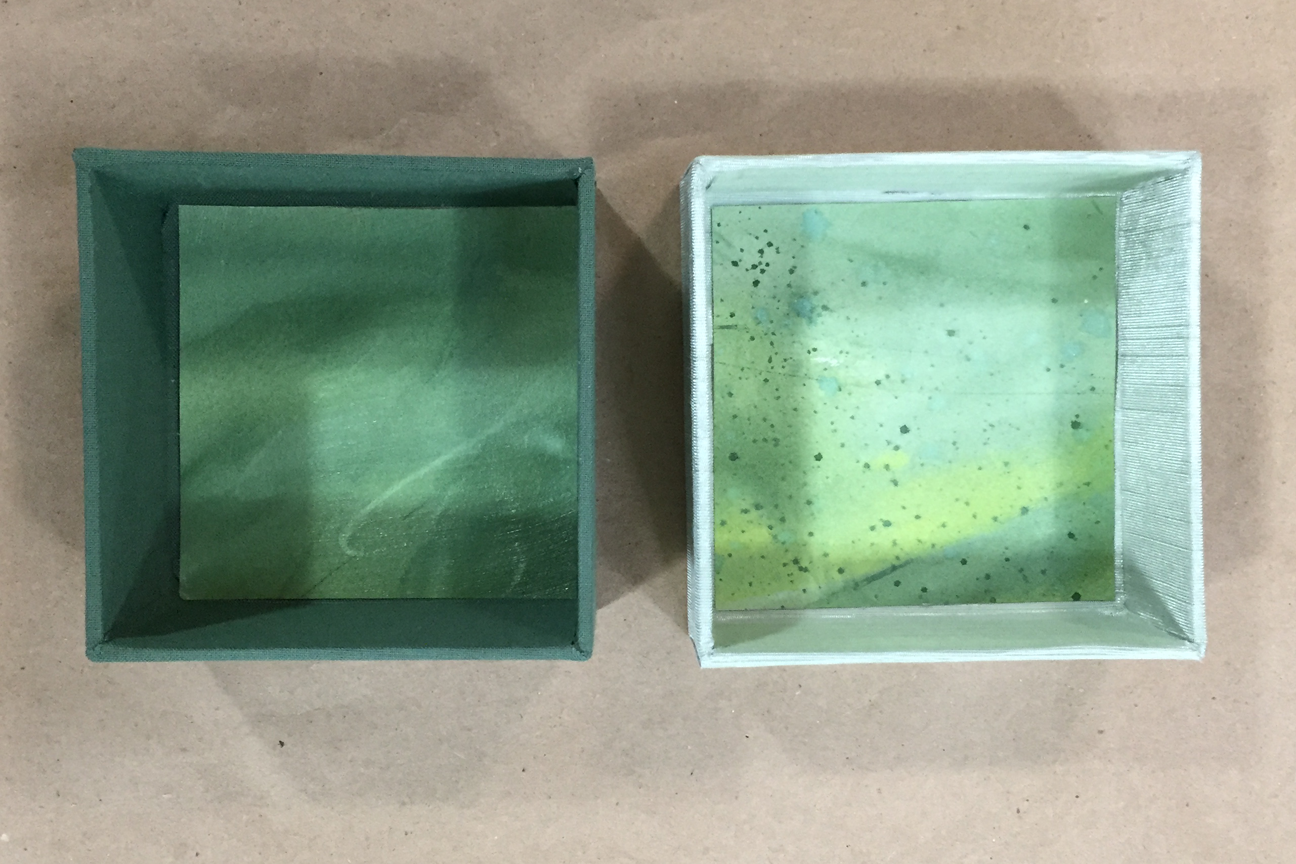
Cut a piece of decorative paper to just fit inside the box. Glue it down.

Here is the bottom of the box with the diagonal cuts before gluing.

Box!

Left is the box bottom, right is the lid.

Comments