It has been a long time since I did a post like this, but recently I received an email asking about the details of folding and cutting paper, including the binder's fold. First, I want to stress the importance of both a heavy ruler (to hold the paper down) and a sharp blade (for a clean cut and ease of cutting). A metal ruler is imperative for cutting (to brace against the knife). Heavy metal, that's right.
My work now deals with fabric, and for that my choice of cutting tool is a rotary cutter, which I chirped about in a previous post. But for this post I show techniques on how to cut and tear with an art knife, ruler, letter opener (could use a butter knife), small pointed brush, and a cup of water.
It is interesting to think that even to sew together one must cut apart.
General Tools: heavy ruler; cup of water; art knife; cutting mat/cardboard; small pointed brush, letter opener (not shown)
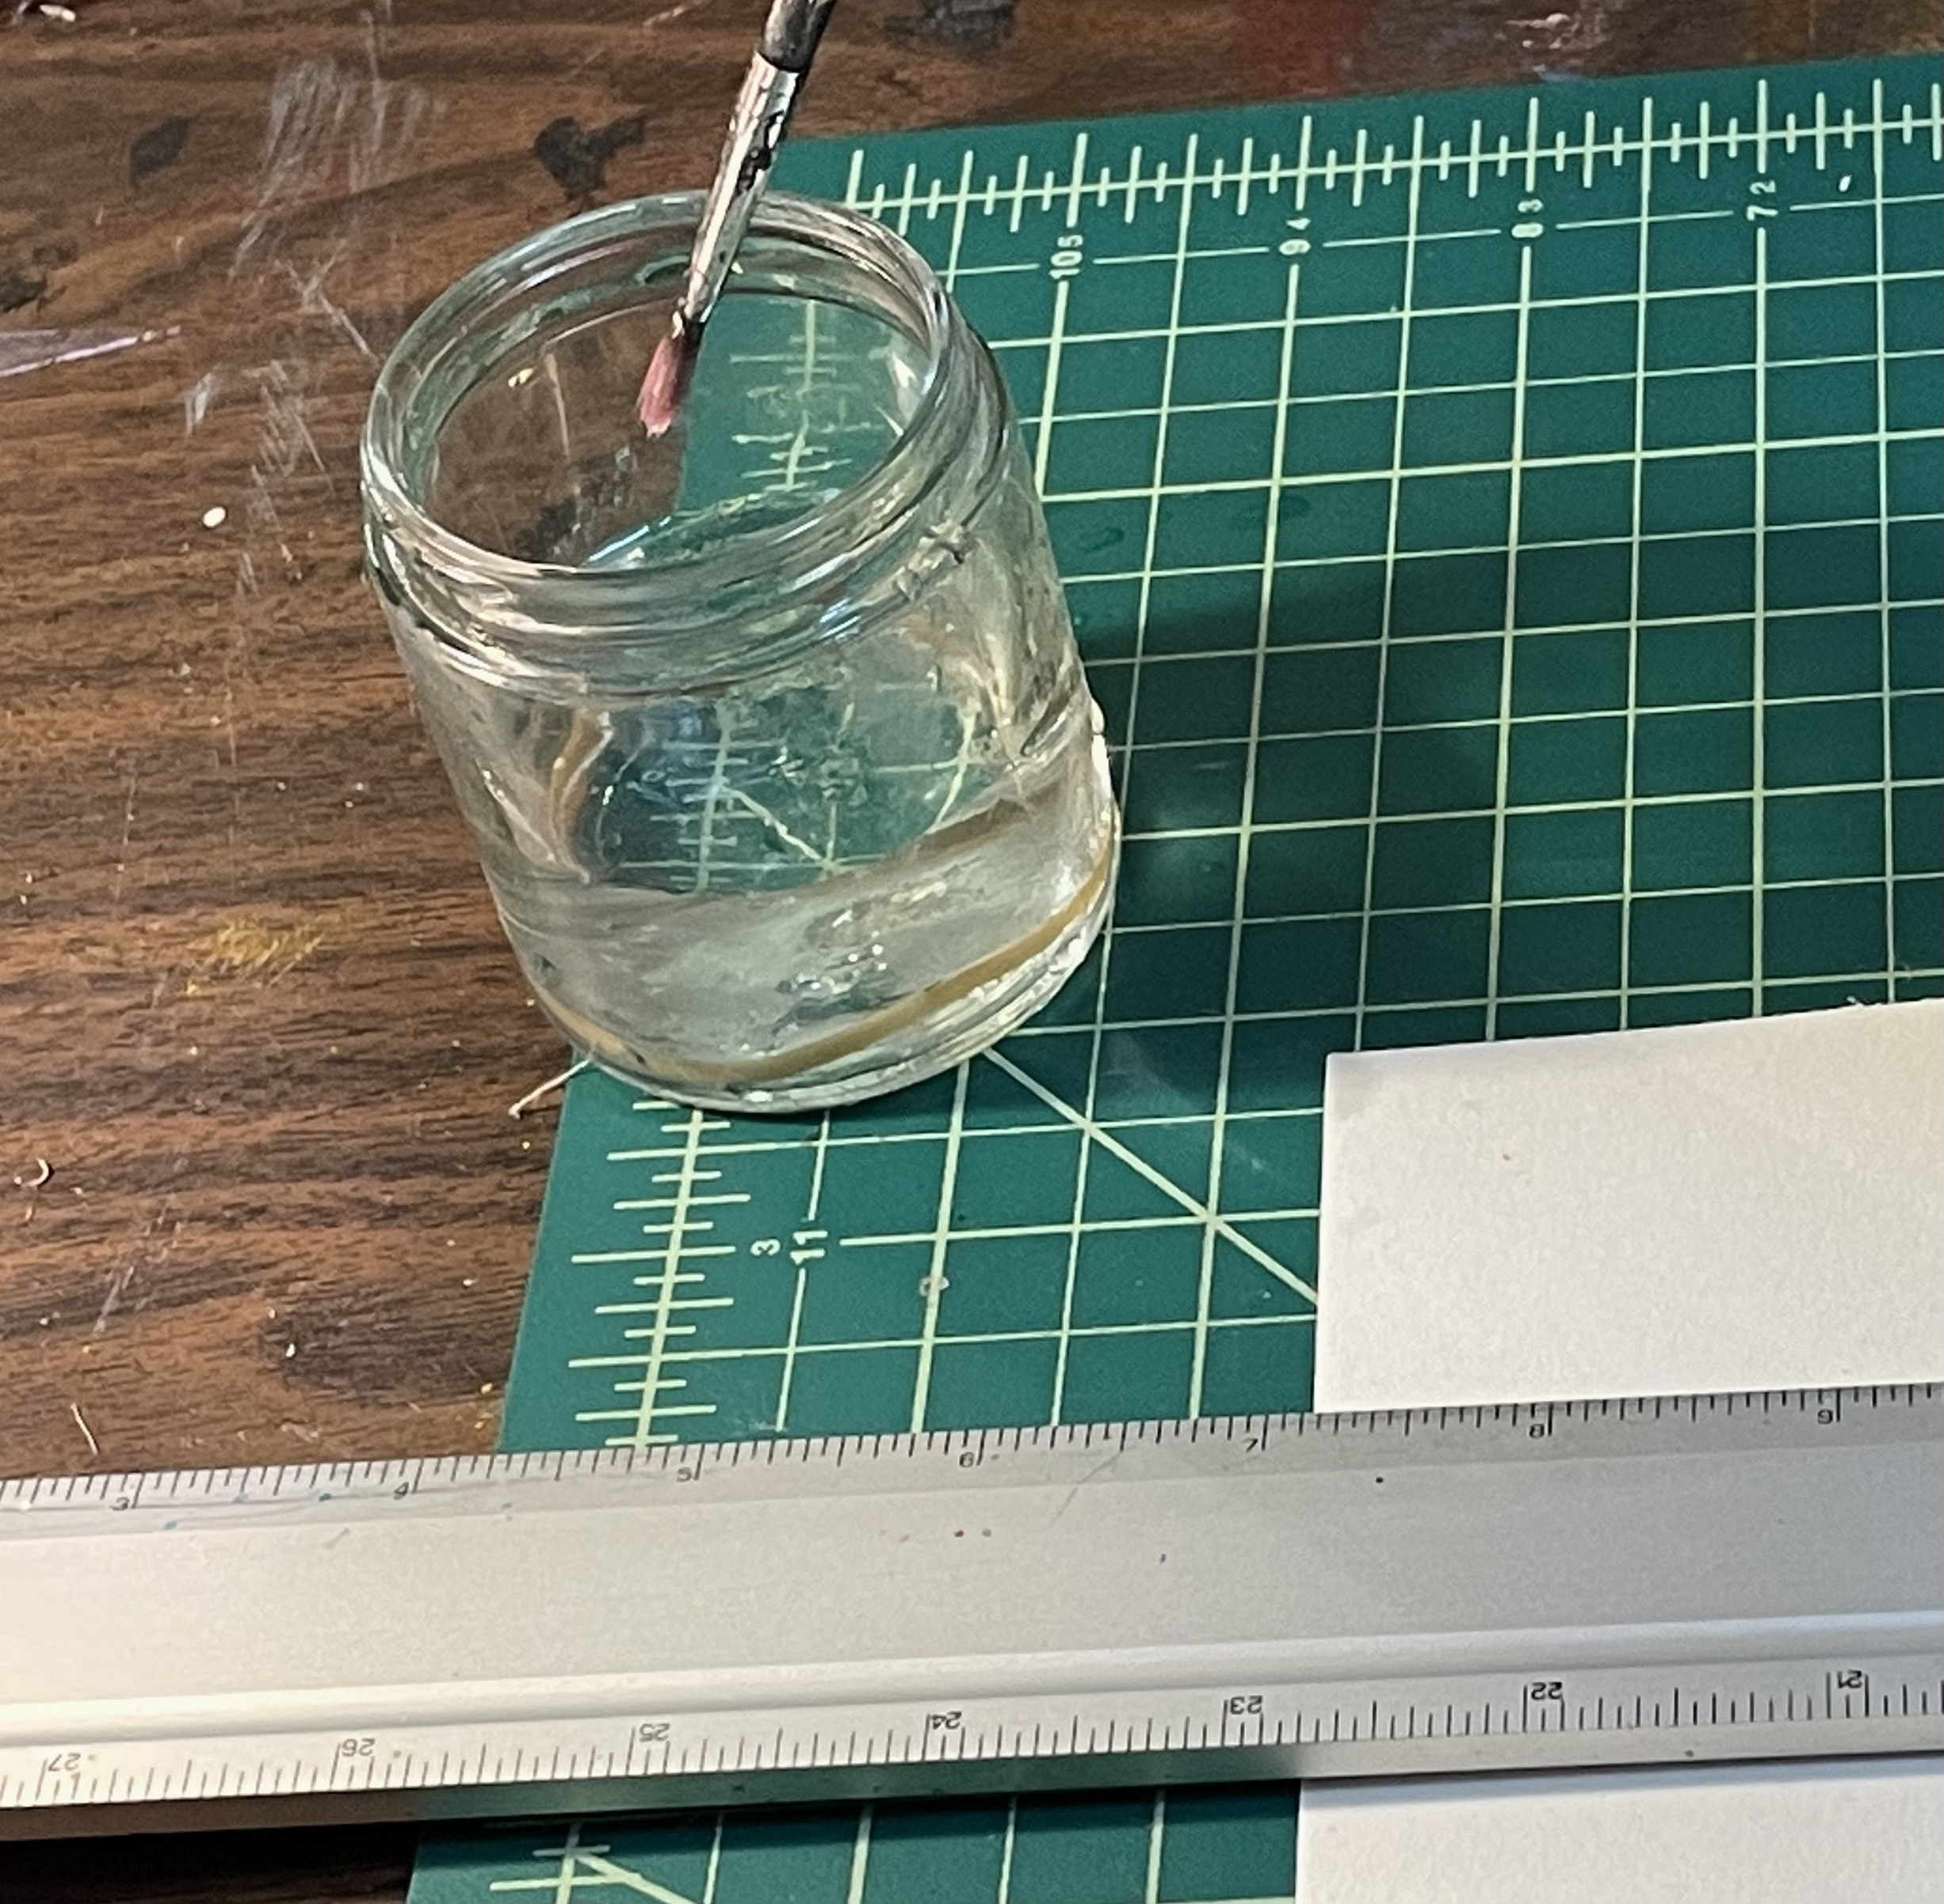
For Tearing by Using a Wet Brush
Note: You may want to experiment with different sizes of brushes and quantity of water. Different papers will need different approaches. The example is with a heavyweight cotton printmaking paper.
Tools: cup of water, heavy ruler, small pointed brush
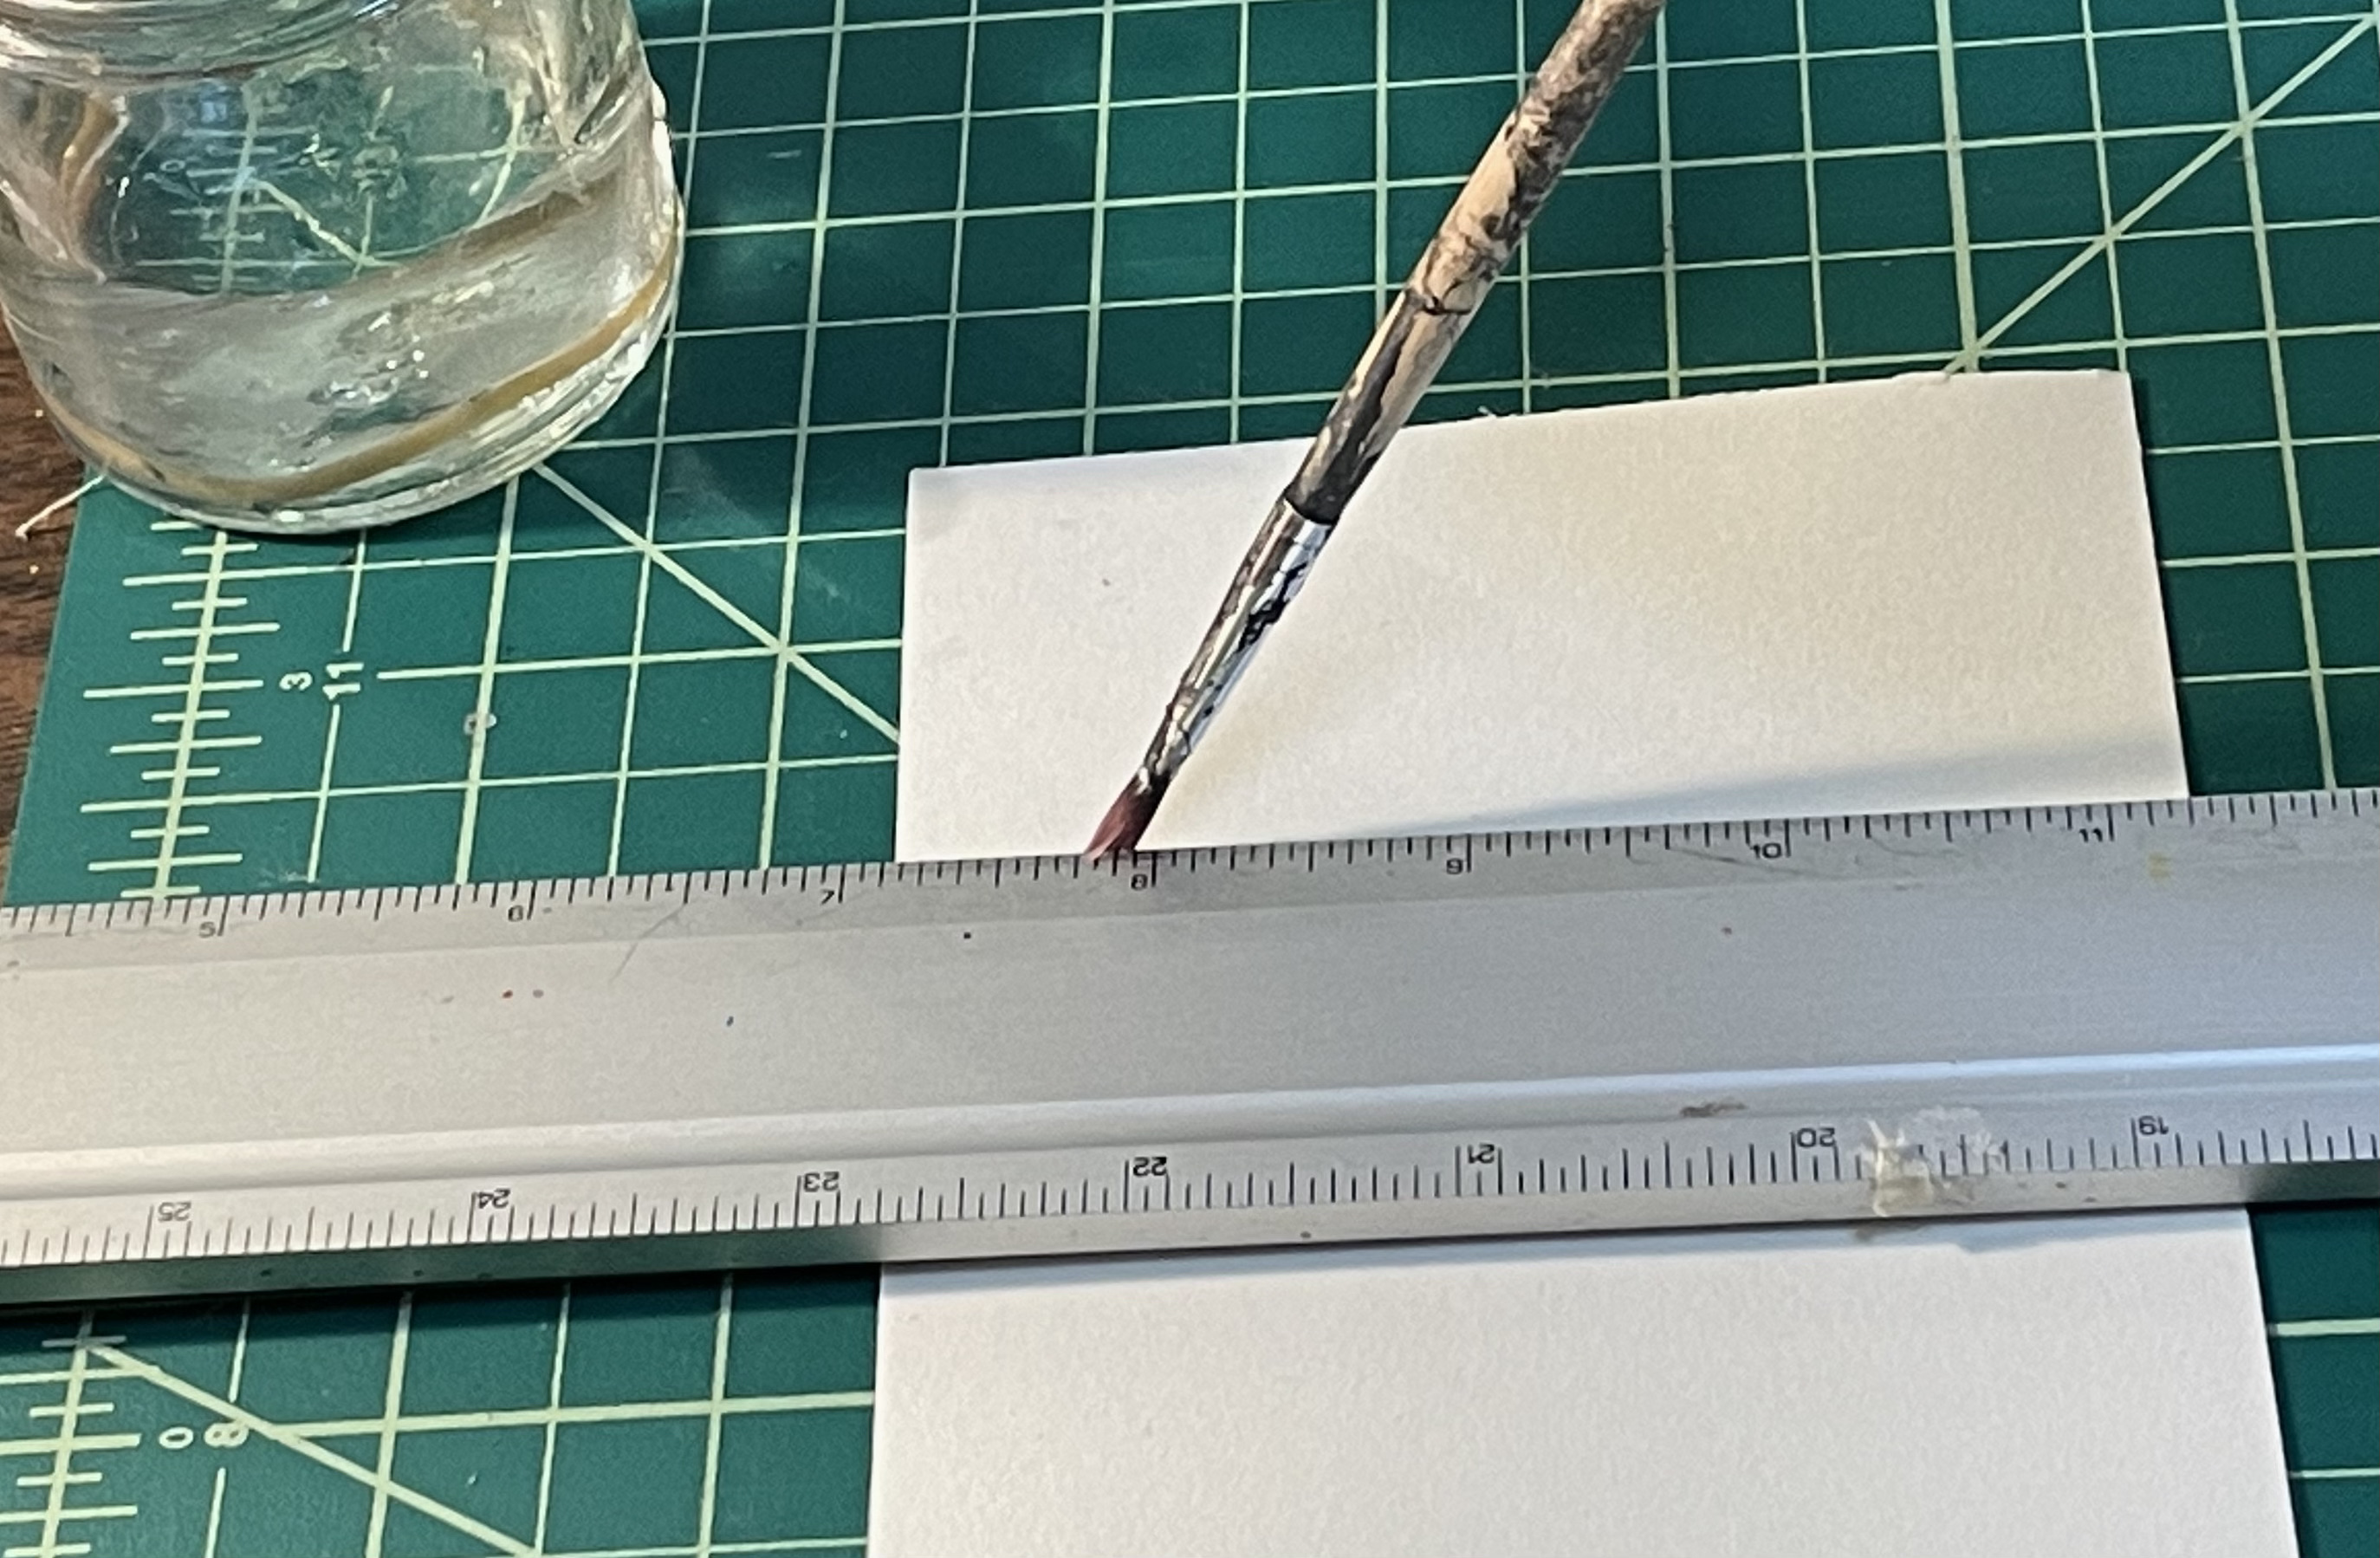
Dip the brush in water.
Start painting a line against the ruler.
Dip the brush again; keep the brush fairly wet.
Continue painting and dipping.
Remove the ruler. You should be able to see the wet line.
Start at the top and pull up and away from the table as well as toward you; the paper should come apart quite easily.
The wet tear leaves a wider, irregular line, similar to a deckle edge on handmade paper.
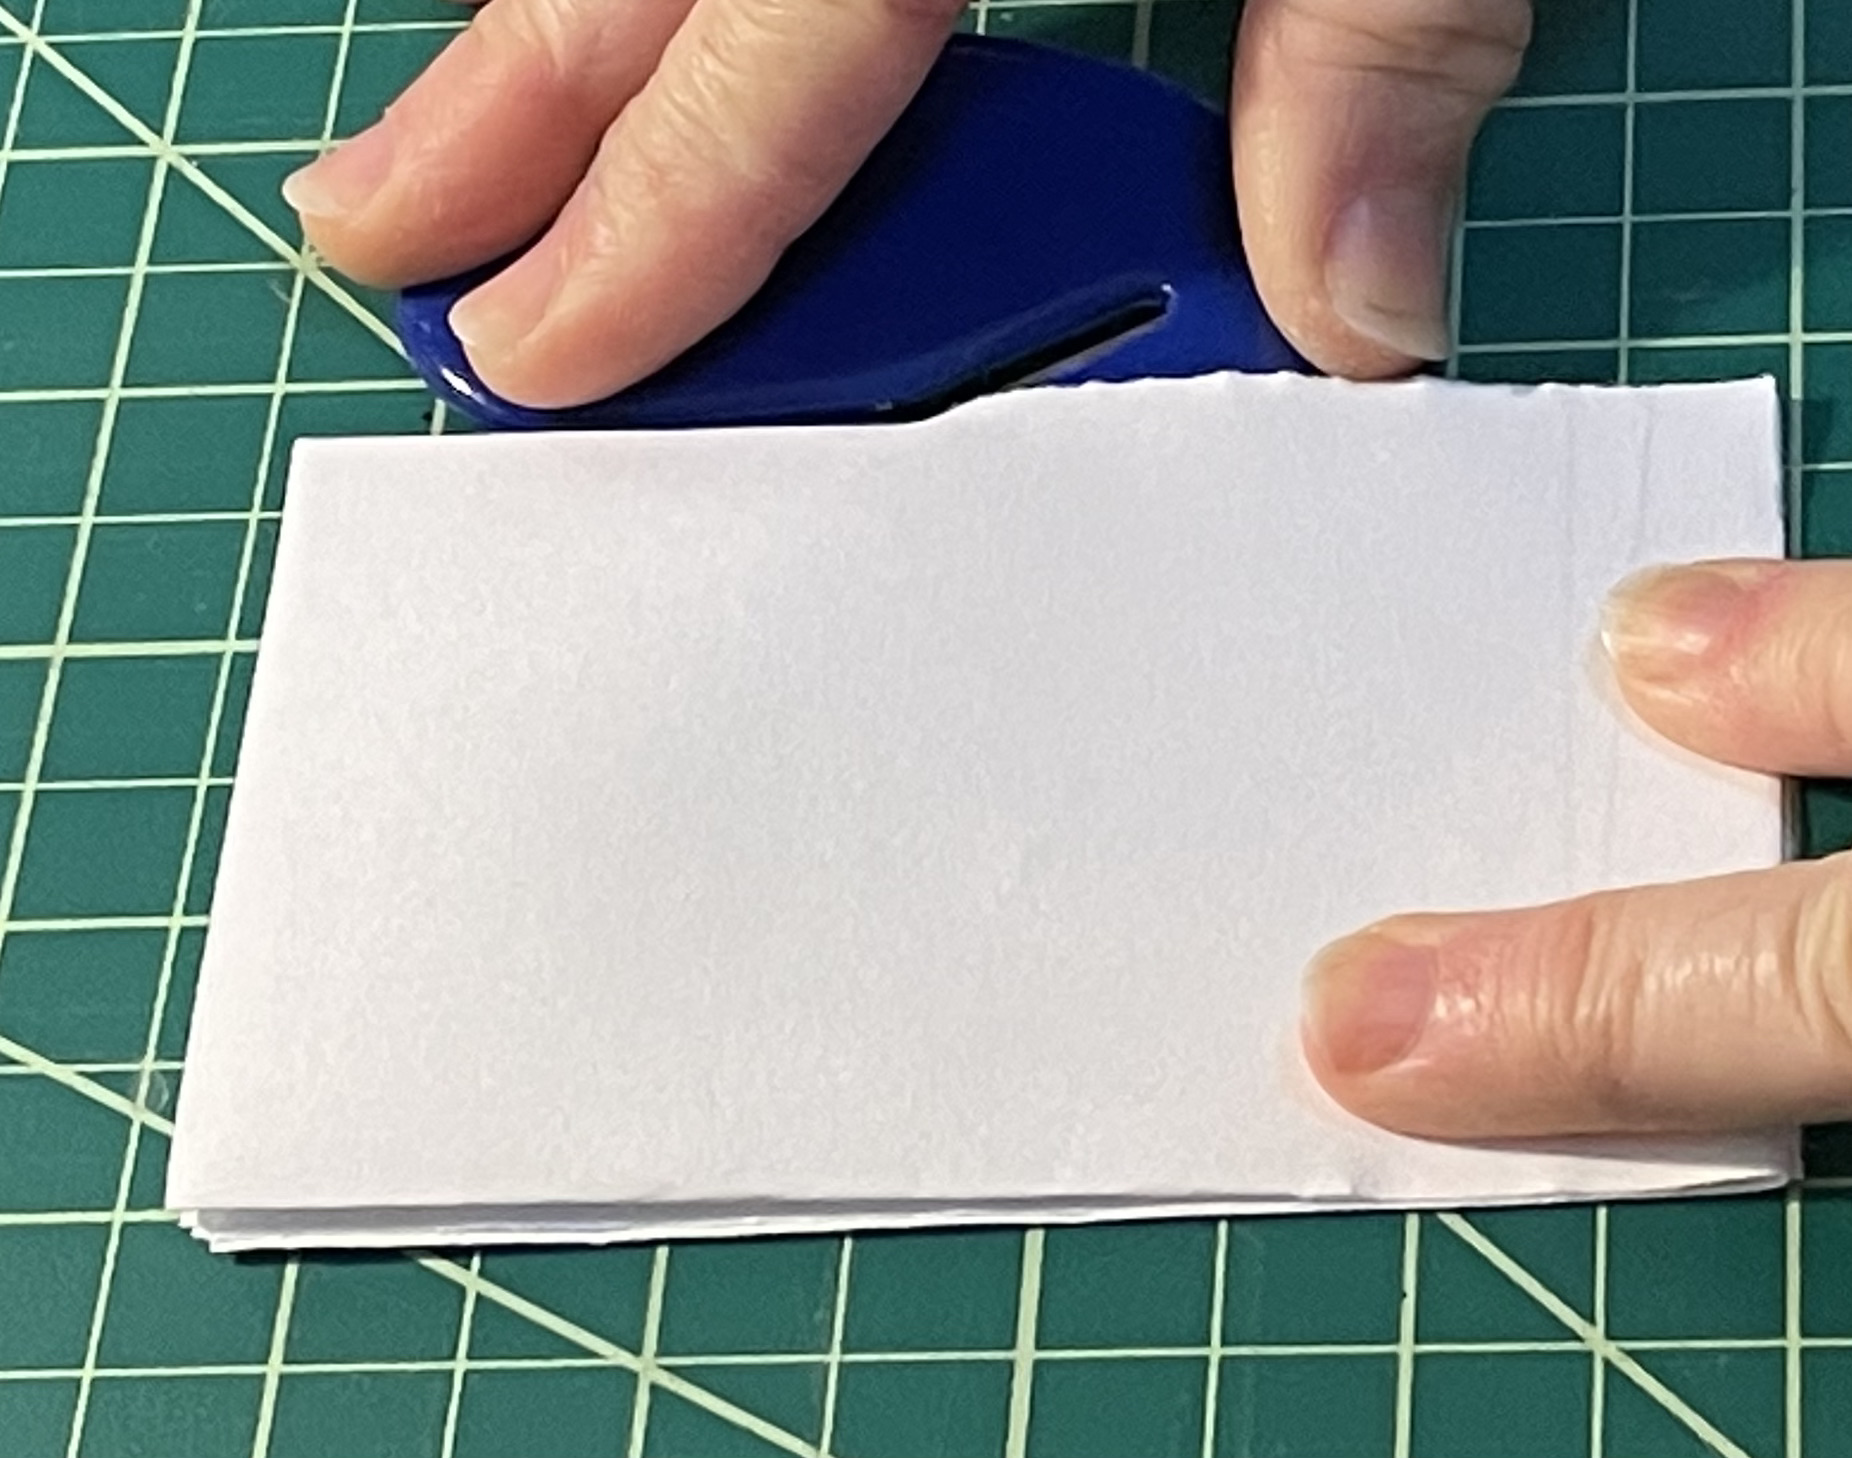
Tearing Dry Against a RulerTools: heavy ruler
Pull up, away from the table, and both against the ruler and toward you
The dry tear is often straighter than the wet tear, particularly with thinner paper. I think you can see it better on the little strip than on the larger piece below it. This was also heavyweight cotton printmaking paper.
Cutting Against a Ruler
Tools: Heavy metal ruler, art knife, cutting mat or cardboard to protect your work surface
Note: A fresh blade will cut more easily and give a cleaner cut. Be kind to yourself: use a new blade and keep fingers behind the ruler.
New pointy blade on the LEFT
Old broken-tipped blade on the RIGHT
Press tightly on the ruler to hold it in place while you draw down with the knife in one long motion, if possible. You need a heavy ruler so it does not slip and so you can make that continuous cut.
A clean cut.
Binder's Fold
Tools: Letter opener or butter knife
The binder's fold is useful when sewing signatures together and makes it easier to keep pages together no matter whether it is a single signature or a thick book with multiple signatures. My example is a single signature.
First, you will need to determine the paper grain (handmade paper does not have much of a grain). Here, I'm using a piece of laser printer paper. How to determine? You gently bend the paper over in one direction, then the other.
Gently folding the paper parallel to the long side.
Note the height of the curl at the bend.
It is fairly narrow.
Gently folding the paper parallel to the short side.
Note the height of the curl at the bend.
It is fairly wide.
The narrow height means that grain is parallel.
In this case, the grain is parallel to the longer side.
I've marked it, but you don't need to.
Begin by folding AGAINST the grain.
Crease tightly. Then slit along the fold to just past halfway (can be any length past the halfway point, just not all the way.)
Remove the tool.
Fold in half WITH the grain.
You can stop here if you like this size.
Or continue and slit again on the new fold, just past halfway.
Fold AGAINST the grain.
Slit again along the newest fold, just past halfway.
Fold WITH the grain.
Note: This is not a step. I've just opened the paper to show what the cuts might look like (and sometimes they vary slightly, but it doesn't affect the book.) You can see that our final folds/book will have pages parallel to the spine; just what we want.
Here is our little signature.
I've sewn it together now with a pamphlet stitch.
Take the letter opener or knife and slit all the folds that occur at the fore edge or top or bottom.
A rustic-looking little book.


Comments
I have often been frustrated by xacto knives for the simple reason that I don't change the blades often enough ... it is humbling to realize that book artist Brian Dettmer uses 15-50 blades per day ... reportedly buying them by the hundreds