This post was inspired by an inquiry, and made me think about how our houses or homes can be a trap or haven, worry or delight, or all of the above and more. It is a little house-shaped card, learned from an elementary school teacher and included in both instructional books, Creating Handmade Books (p. 29) and Making Handmade Books (p. 49). All you need is a piece of paper.
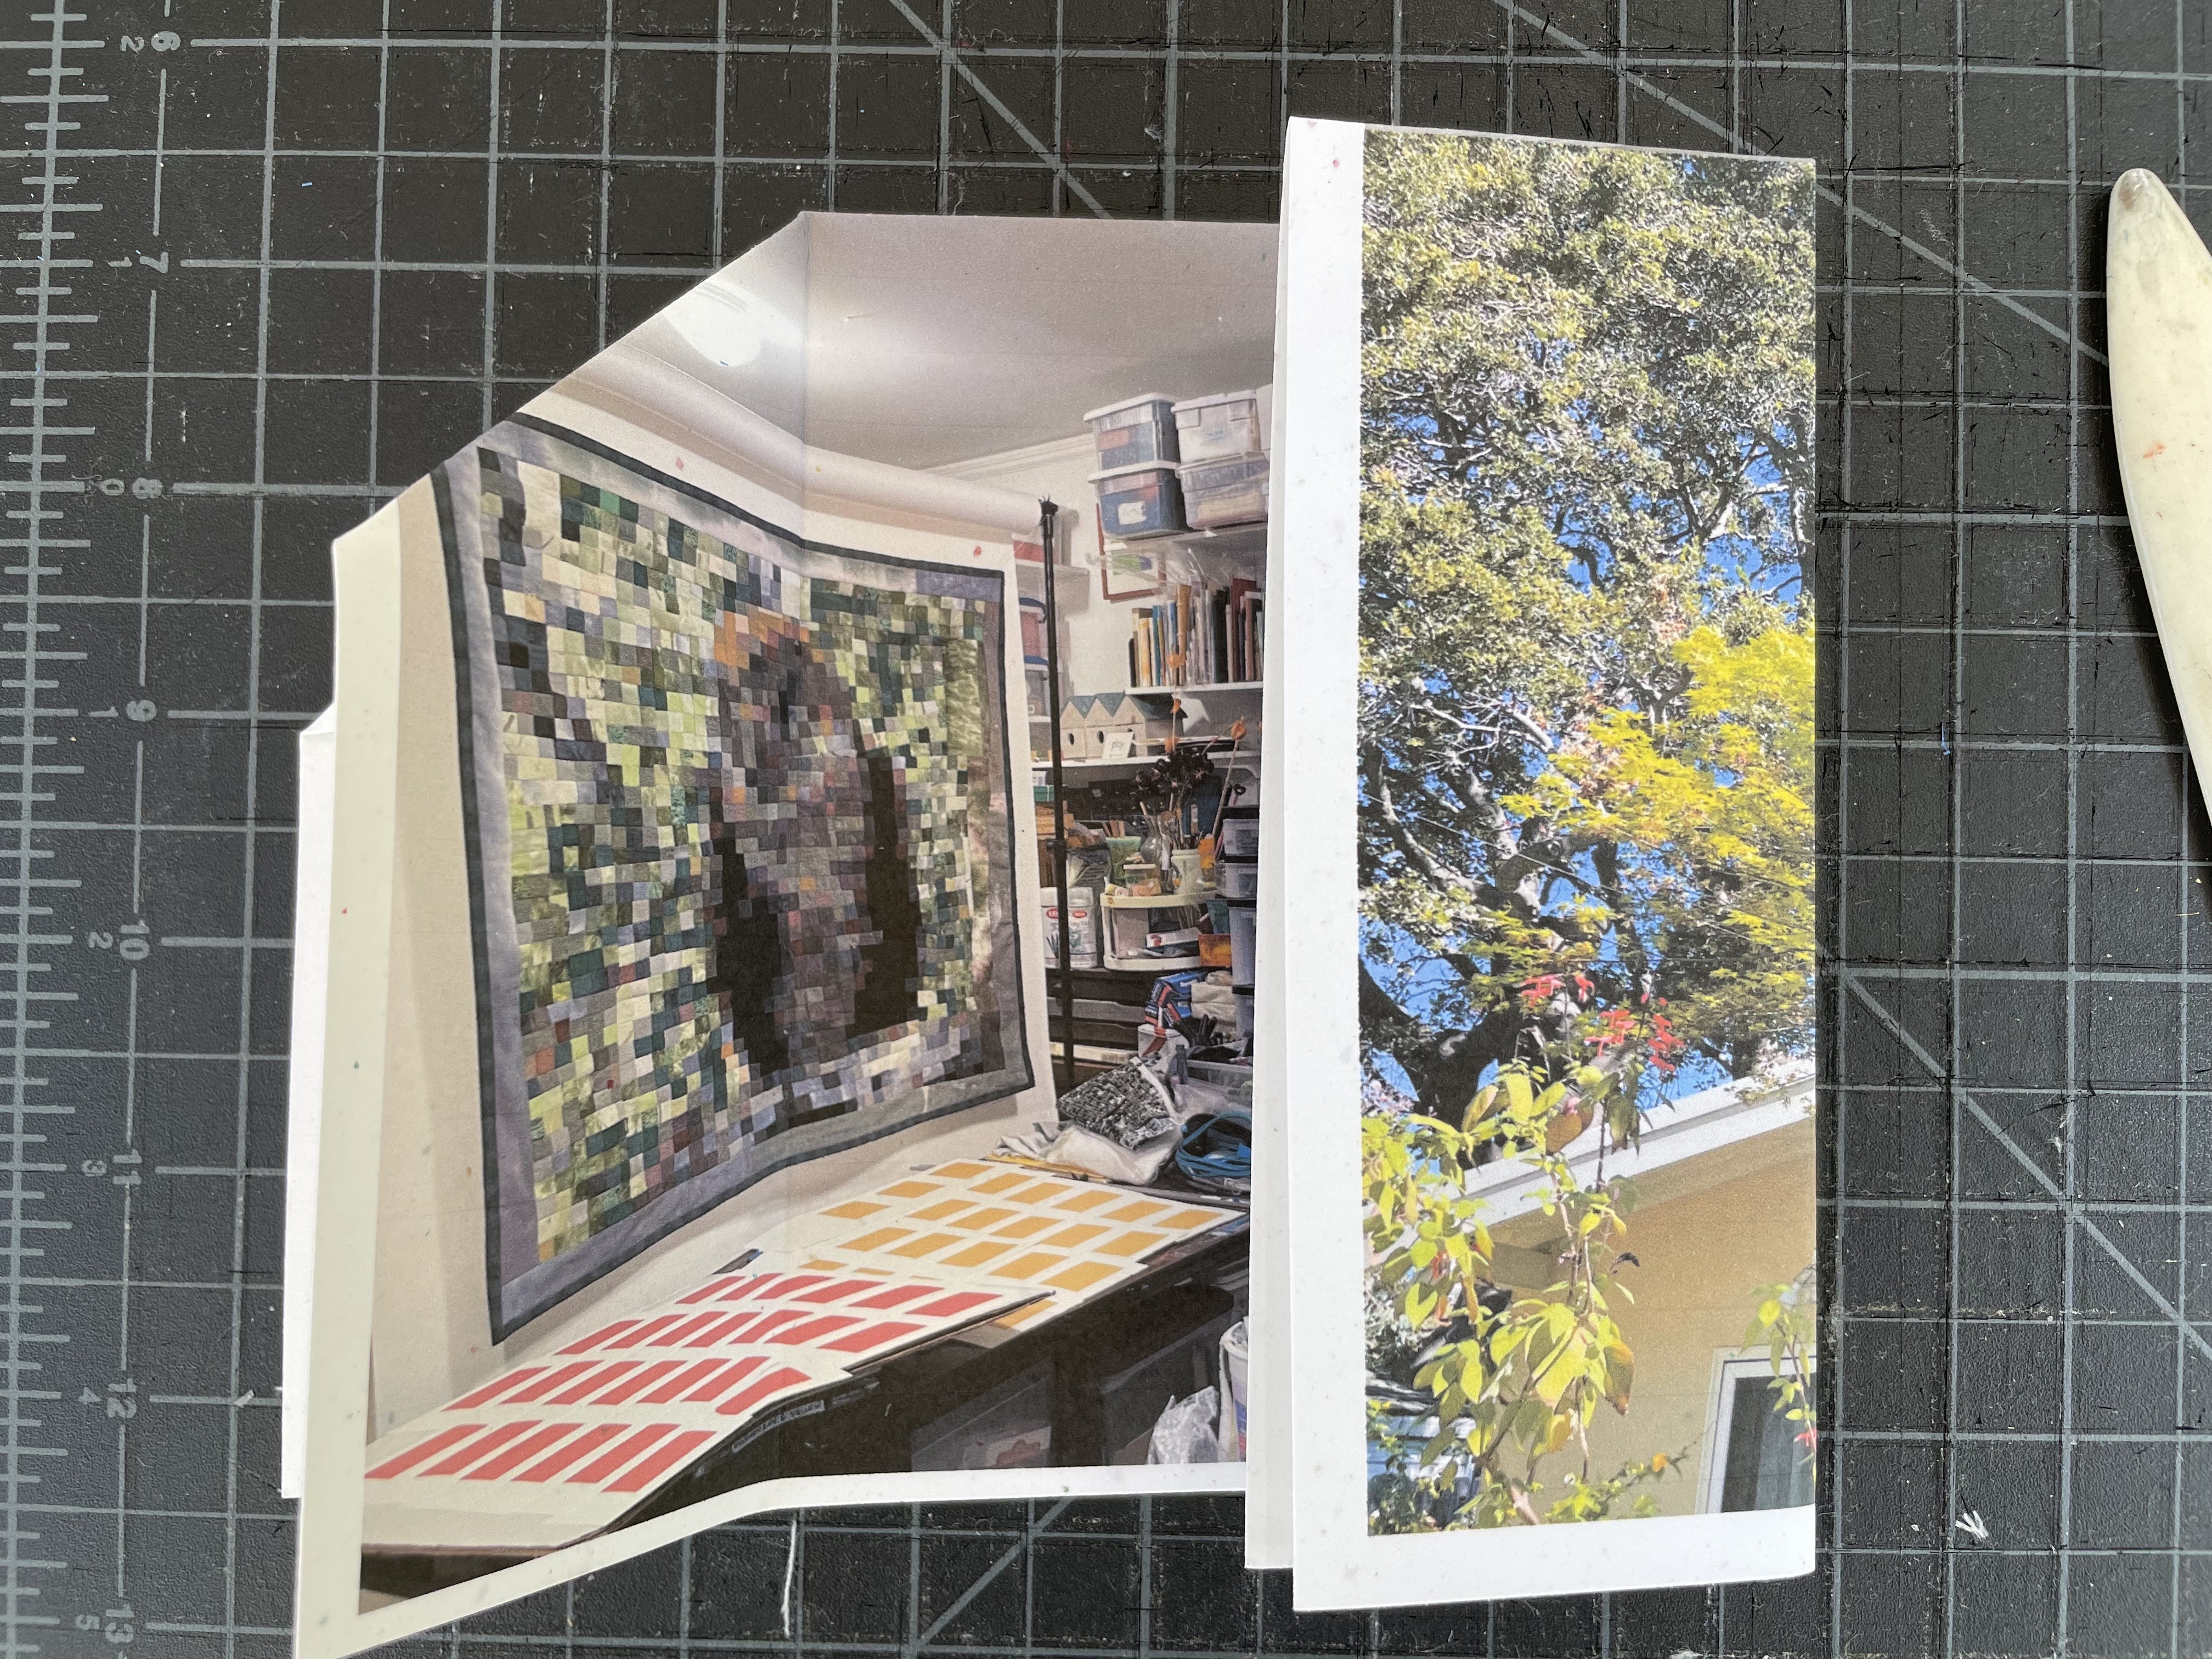
In this example, I have printed a photo of my studio: one half of an 8.5 x 11 piece of card stock features the outside; the other half, upside down, shows the inside. If you decide to print your paper first, make sure that both of the heads or tops of the images are in the center, feet at the edges. For this model I used paper that was 65 lb / or 176g/m2 (176 grams per square meter). These are fresh instructions.
Materials: one piece of rectangular paper
Tools: bone folder (optional)
1. Place paper in front of you, vertically (portrait). If you use them, the pictures should be face down as you proceed to the next step.
2. Fold in half, widthwise (one picture would be on either side of the fold, blank sides in).
3. Rotate the paper 90 degrees with the fold at the top. Making sure the inside picture (if using) is facing you, fold in half (this will be across from and perpendicular to your first fold).
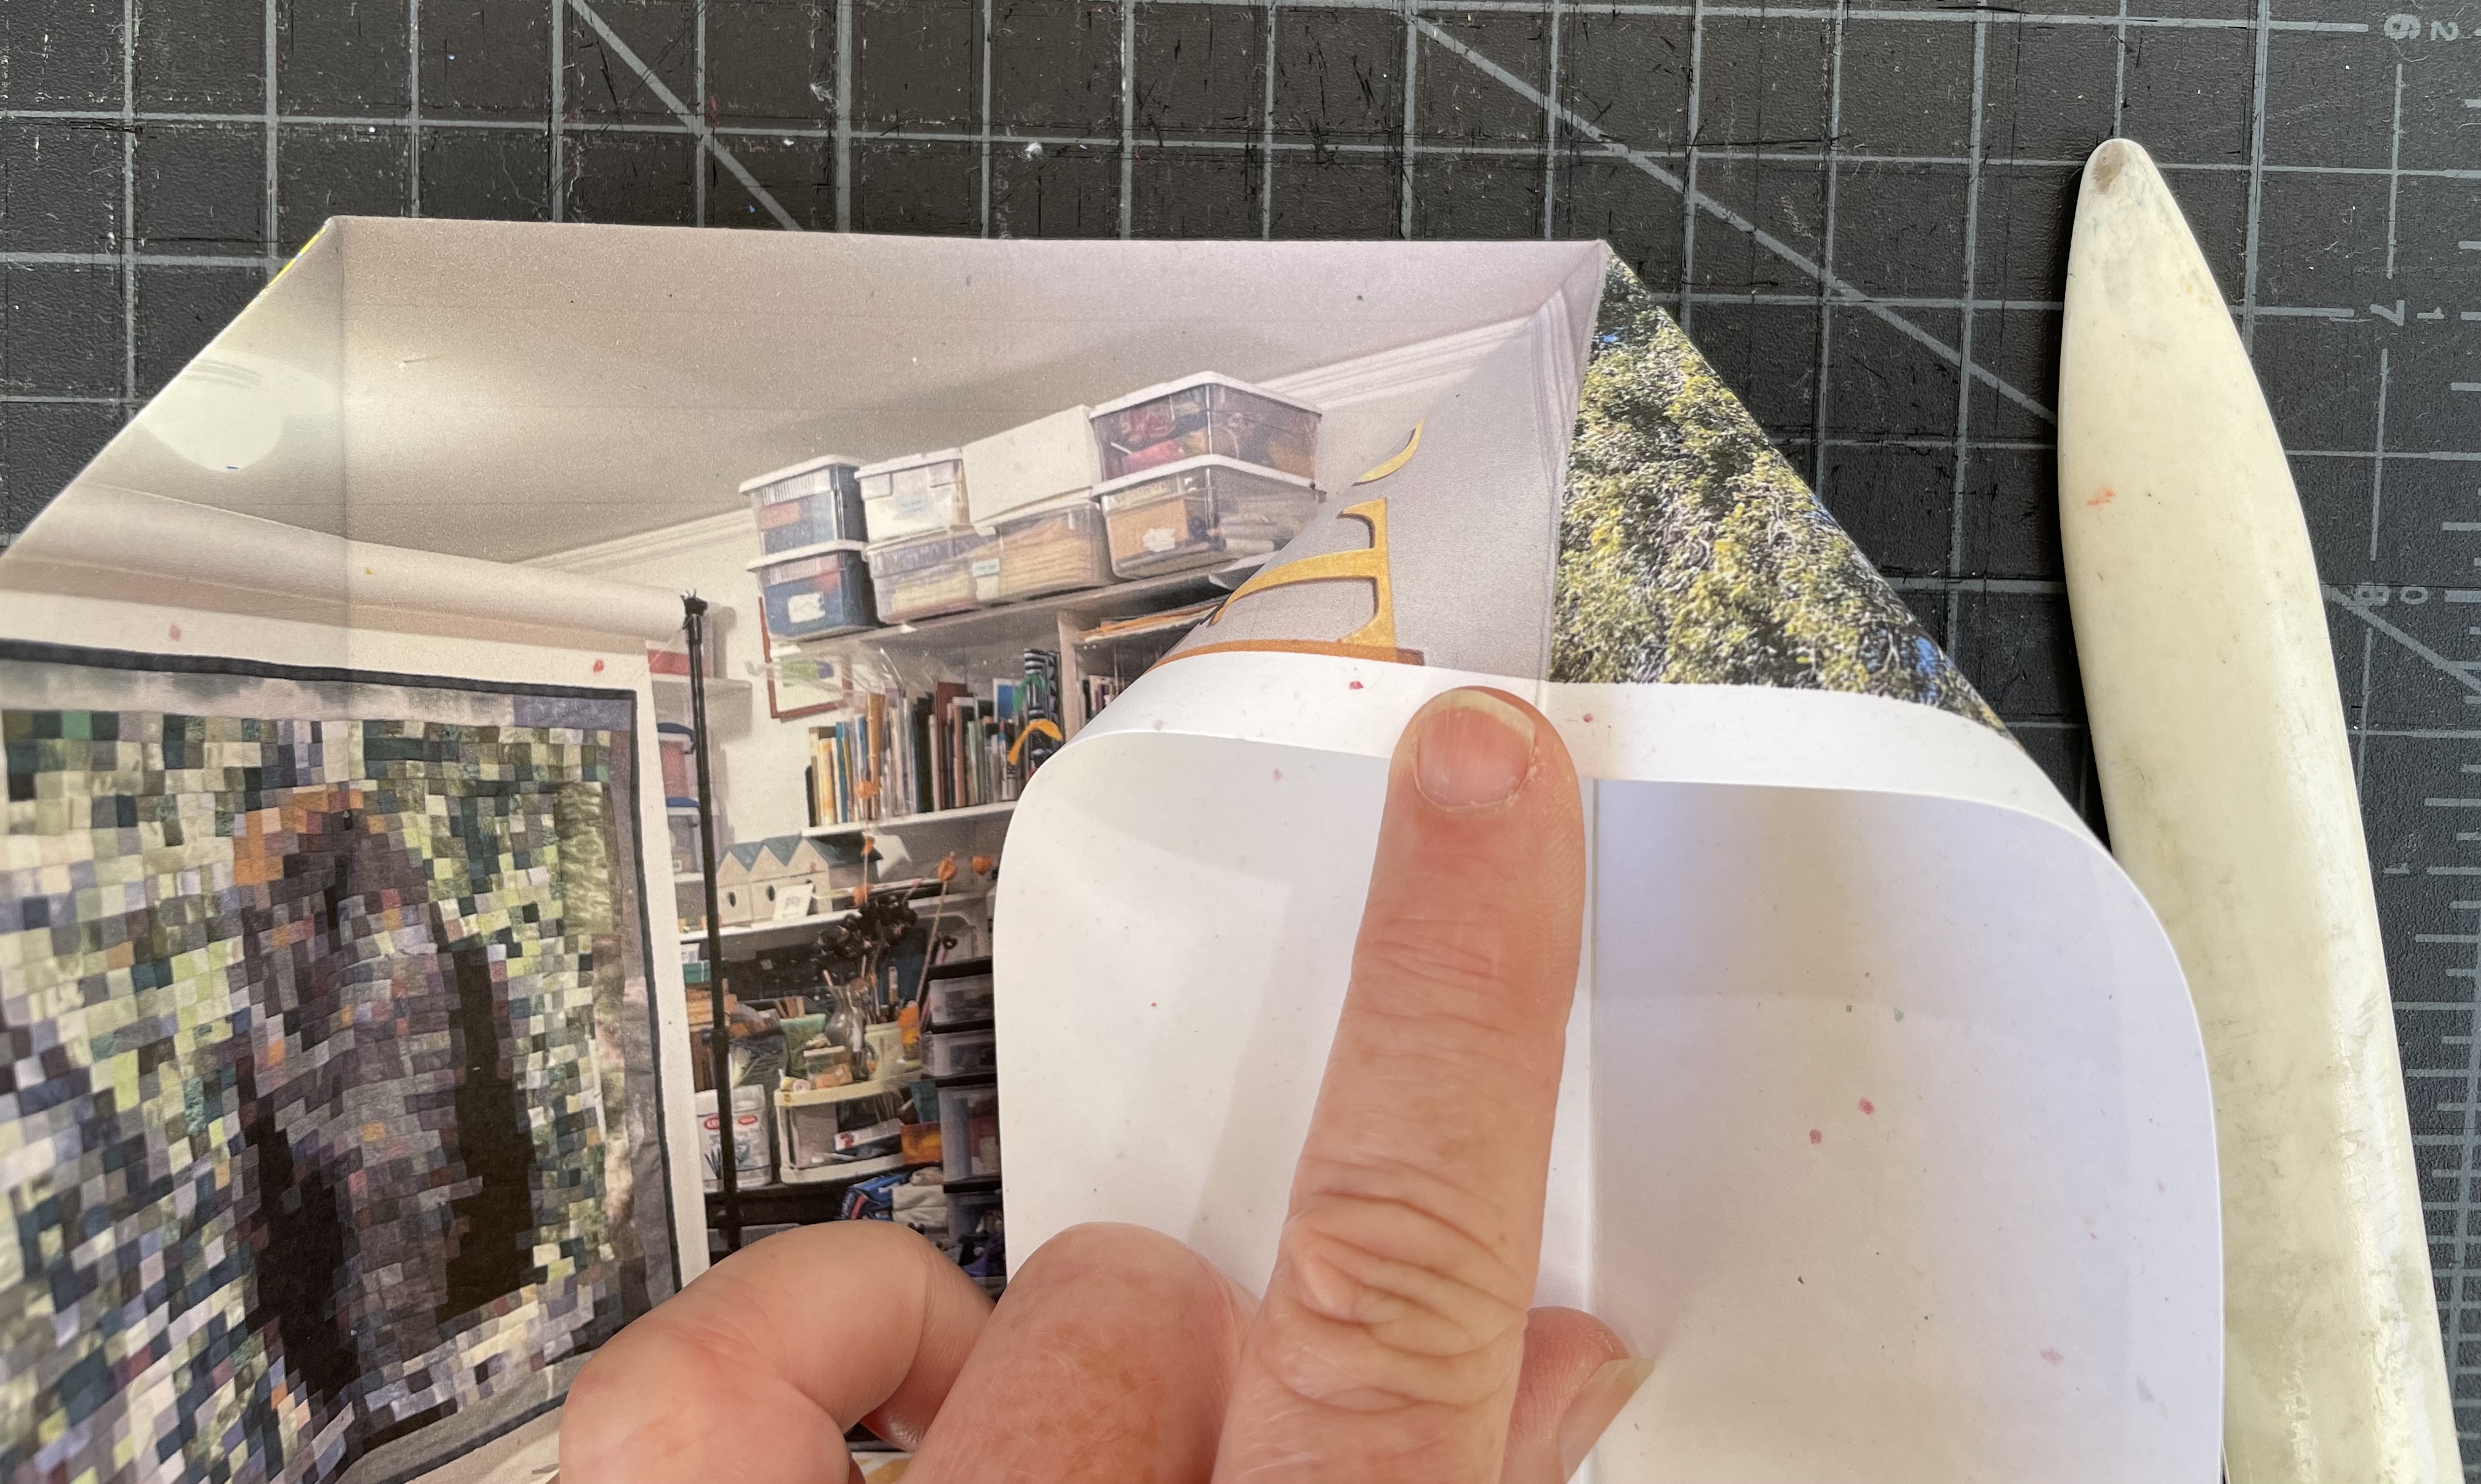
4. Open the card (so you see the inside picture) and fold one edge in to the center fold.
5. Repeat by folding the other edge in to the center fold. You now have three valley folds.
6. On one side, open out and separate the front and back layers (inside/outside layers) so you see the blank sides. Keep the top folded. You'll see a peak at that top fold; this is the beginning of a folded triangle.
7. Put your finger on that peak and bring it down to meet the paper, aligning the center crease of the triangle with the vertical folds. You may have to adjust it at the peak before you can bring it down to touch the paper.
8. Crease the triangle into place.
9. Close the new section. Repeat the folding of the top triangle for the other edge/section.
9a. As before, put your finger on the peak and press it down, aligning the fold in the triangle with the creased blank paper below, adjusting at the peak, if necessary.
9b. Crease the triangle.
Finished inside.
Finished outside.
You can fold it up to fit into an envelope, either to 4.5 x 5.5 inches or narrower, to 2.25. x 5.5 inches.
(roughly 11.5 cm x 14 cm or 5.5 cm x 14 cm)
Finished card, standing up. You could write or stamp images or texts onto the blank sides, or pre-print it before you fold it up. You could also sew single signatures into those book-like openings. Nice structure for a housewarming, open house, family celebration, change of address cards, memoir, invitation. Lots of possibilities.


Comments
Thank you so much for sharing how to create a house card with one sheet of paper. Appreciate seeing how to place two photos on the page! Can't wait to try this.
You are very welcome! Wishing you all the best, Alisa