I keep a journal, although I don't write in it every day. It's a heavy hardcover black art sketchbook, the usual kind one finds in an art supply story. I wrote about how I customize it in a 2013 post here. But when I take a short trip, just a few days, I am reluctant to lug the sketchbook with me, so I tend to make one specifically for that trip. You would think I have plenty of blank books around, why make another? I like the materials to relate to the trip somehow. Or, I just want a fresh one for inspiration.
Inspired by the little notebooks they sell at Creativity Explored (sister organization to NIAD for artists with developmental disabilities. I previously wrote about works from NIAD here and here), I put together a softcover notebook in about fifteen minutes. It has a 6 x 9" postcard for a cover, some decent paper for writing and drawing and a little watercoloring, and a sewn-in ribbon to tie it closed. I liked using a large postcard that was sent to my address since it was automatically personalized, but you can use a blank one.
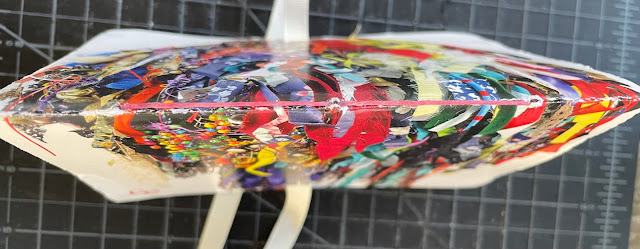
Here's the most recent one I made. Artwork on the postcard by CE artist, Tranesha Smith-Kilgore, 2022, mixed media sculpture.
It has three holes and is sewn with colorful waxed linen thread to match the art.
Here's one I bought from CE. 2014 Artwork is by CE artist, Richard Wright.
It has two staples at the spine.
The instructions for a pamphlet or single-signature booklet were posted way back in 2011 here, and of course they are in nearly all the instructional books, including Making Handmade Books (p. 95). I will post some key differences for this slight variation below.
Materials
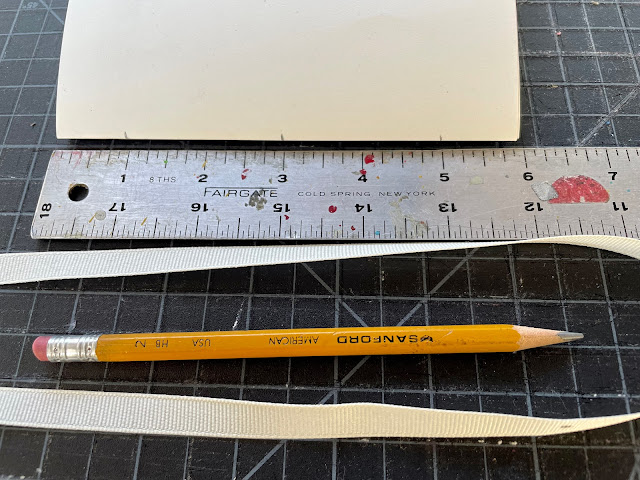
- (1) 6" x 9" postcard, folded in half (15.2 cm x 23 cm)
- (6) 5 7/8"(or just a little less than 6" or 14.7 cm) x 9" (23 cm) pieces of paper, grained short, folded in half with the grain
- (1) 12" piece of waxed linen thread (30.5 cm)
- (1) 27" piece of grosgrain ribbon (68.5 cm)
Tools
- pencil
- metal ruler, at least six inches
- knife and cutting mat / and scissors
- needle
- awl (optional)
- two pieces: repositionable-removable tape / artist's tape / washi tape / or low-tack tape (optional)
- corner rounder (optional: I use a sturdy large-sized one, like this one from Amazon. It works with text-weight paper, postcard stock, some printmaking papers.)
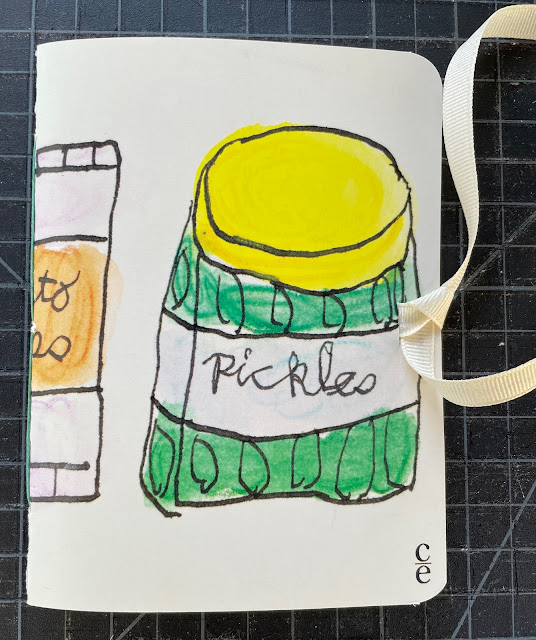
Cover art below on 2016 postcard by CE artist
Andrew Bixler, marker and watercolor pencil.
Nest the folded papers tightly. Then trim the fore edge slightly to make them even. You will have to draw the knife multiple times against the metal ruler before all of the edges are cut through. Use a new blade and keep your fingers behind the ruler!
Measure and mark for three holes at the spine (folded edge of the papers). I made marks at the center three-inch mark (7.7 cm), and at one inch (2.5 cm) from each end (head and tail). Measure and mark at the halfway point at the center of the ribbon.
Measure and mark the inside of the cover to match the text block marks as well.
Poke holes at the marks with your needle (or an awl if you have one).
Make a sandwich of the materials, from inside to out: folded paper, ribbon, cover. (You may want to use some repositionable tape (washi tape works well for this) to hold the ribbon into place while you sew.)
Begin sewing on the inside of the booklet, out through the center hole.
Come in one end hole, skip the center, and go out the other end hole.
Arrange the ends of the thread on either side of the long stitch.
Tie a square knot and trim the ends of the threads.
Straighten out the ribbon inside the cover and mark on either side, about one half inch from the fore edge.
Use the knife against the ruler and make a slit, connecting the two marks.
Repeat for other inside cover and ribbon.
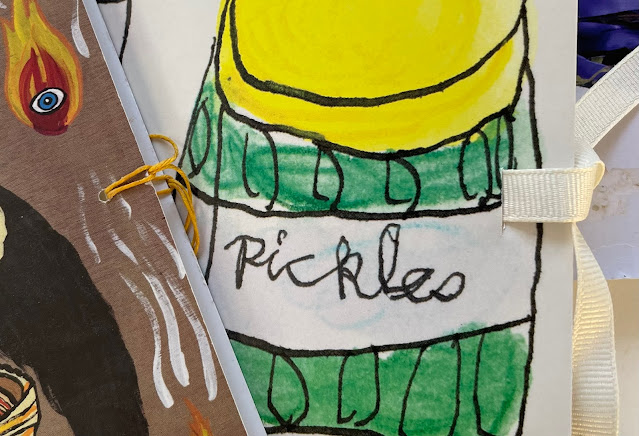
Tuck the ribbon from the inside to the outside, through the slit.
You'll see that the book springs open. That's why we've got the ribbon there, to tie it closed.
Round the corners with the corner rounder punch. You can't see them here, but I rounded all the pages as well.
Ready to tuck into your bag and go!
Regarding the closures: I made the first booklet (on the left) in 2018 and used a hole punch and waxed linen thread for the closure.
The artwork for that 2017 card is a detail of a painting on wood panel by CE artist,
Yukari Sakura.
The current exhibition at Creativity Explored is a textile show called
Fabricave and it is on view through November 5, 2022. I hope to get over there to see it.
CE sends out wonderful 6 x 9" cards to donors and those on their mailing lists, and they are an outstanding organization, supporting a variety of neurodiverse artists.
You can also support specific CE artists directly by buying their artwork.
And, of course, you could add a closure to one of their notebooks as well.


Comments